1
/
of
2
Tear-Aid
Tear-Aid Screw Valve/Bladder Install Kit
Tear-Aid Screw Valve/Bladder Install Kit
Regular price
$7.50 USD
Regular price
Sale price
$7.50 USD
Unit price
/
per
Couldn't load pickup availability
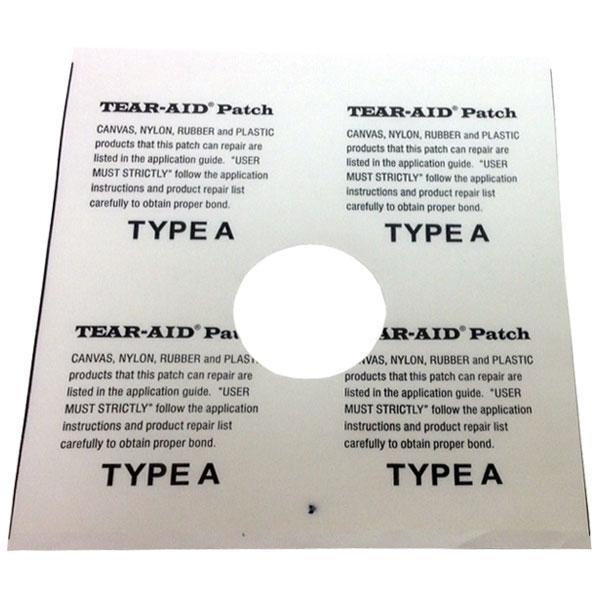
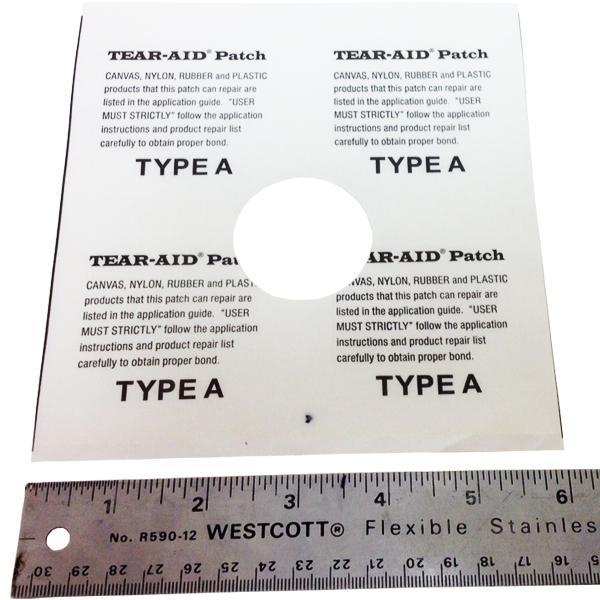
Tear Aid Screw Valve Bladder Patch Install Kit
If your screw valve or other valve with a large base has to be cut out of the bladder then you need this Bladder Patch Install Kit. Use this kit to repair the large hole in your bladder and then install a new valve on top of it to get your kite back in working order. This patch is self stick (peel & stick) and can be used to patch any bladder material or color. The specially formulated adhesive is incredibly durable, making for a quick repair.
Includes:
- 1x 6"x6" Tear Aid bladder patch with 1.5" diameter offset hole
- 1x 5"x6" bladder protection sheet
- 2x alcohol pad
Instructions:
- Lay out the bladder on a flat surface and remove all wrinkles
- Prior to removing the old valve, use a marker to mark the location and orientation of the valve on the inside surface of the other side of the bladder. This will help insure when you install the patch and new valve that it will be in the correct spot
- Remove old valve
- Wipe the area around the hole in the bladder from the removed valve with the included alcohol wipe and dry completely with a paper towel to remove any residue
- Insert the bladder protection sheet into the hole in the bladder. This protective sheet will prevent the Tear Aid patch from sticking to the other side of the bladder
- Round corners and trim the Tear Aid patch as needed
- Center the hole of the Tear Aid Patch over the location you marked earlier and peel and stick the Tear Aid to the bladder and protective sheet. Do not pull or stretch the Tear Aid during installation and the Tear Aid should go beyond the edge of the cut by at least 1"
- Massage the Tear Aid to ensure adhesion, and if you have access to a hair dryer can you gently heat the Tear Aid during the massage to help activate the adhesive
Share


